
Pom Pom Bag
- Jul 7, 2017
- 2 min read
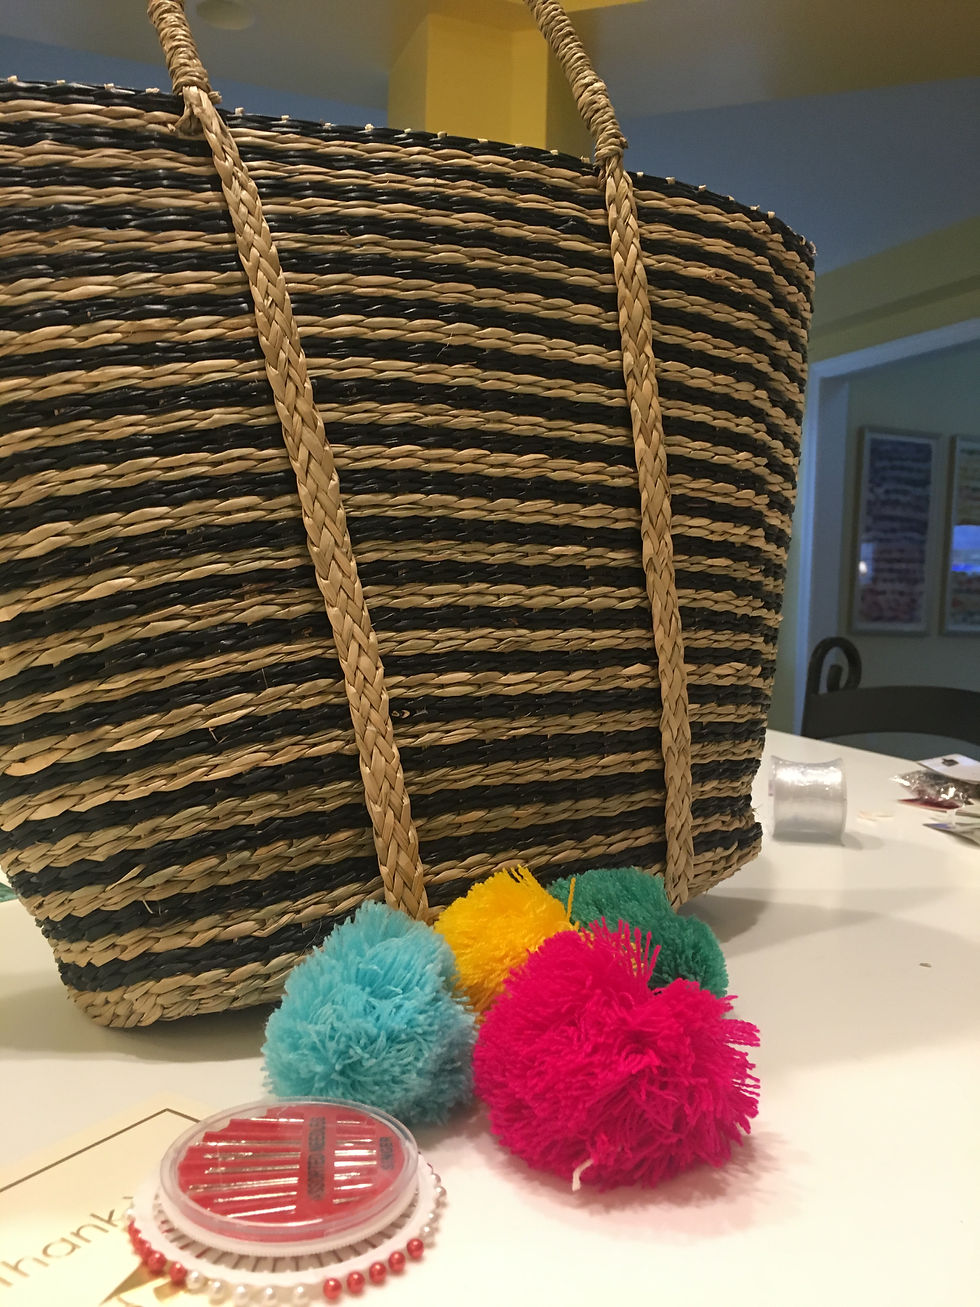
I just recently got back from Baha Mar, which is in the Bahamas, and a ton of people were caring around straw purses. Therefore, of course I just fell in love with the look and knew that I needed one. A couple days after my trip I was in Jo Ann Fabrics and I saw that they had all of their summer accessories 70% off. Luckily for me there was a straw black and tan bag with pom poms 70% off (click here)! I personally liked the pom poms on just not where they were located on the bag. That is when I got the idea to make a pom pom straw bag! You could do this on any bag I just chose to do this with a straw bag.
Materials:
1. A purse
2. Needle
3. Thread
4. Yarn to make pom poms if you need to

Step one: If you got the same bag as me cut off the pom poms. If you did not get the same bag as me, the first step would be to make your pom poms! (which is honestly very easy but I do not have that shown)
Step two: Now that you have your pom poms ready, it is now time to put them on! Lay them out and position them where you would like them placed. Mark where you would like them placed or you can just wing it and see how it looks. I chose to mark mine out so I knew that all the pom poms would all be aligned.

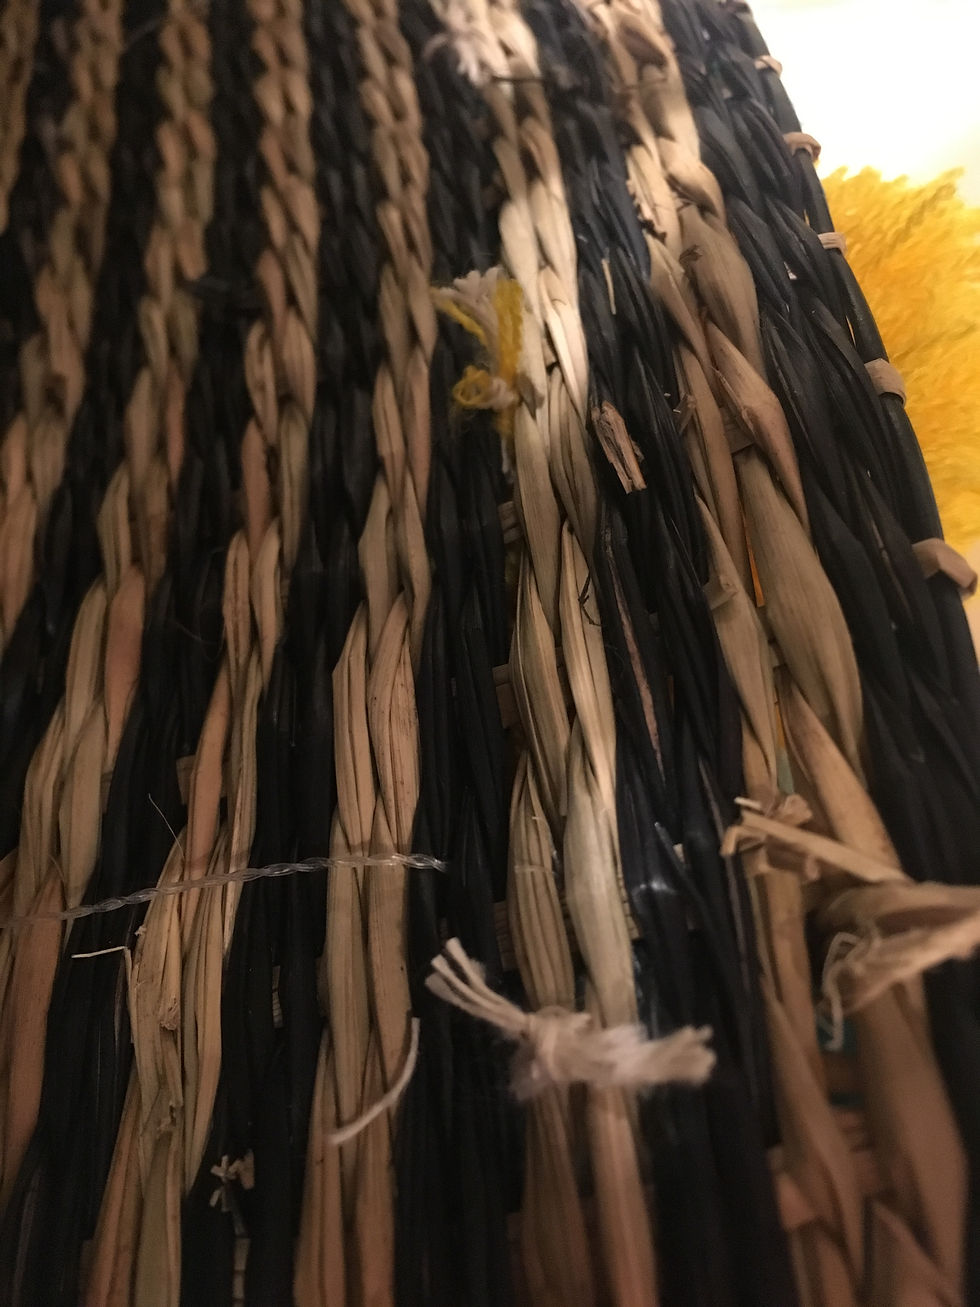
Step three: Time to sew the first one on! Place your first pom pom where you would like it to be placed. Now take two or three of the strand from the back and with your needle or finger nail push those two to three strands to the inside of the bag.


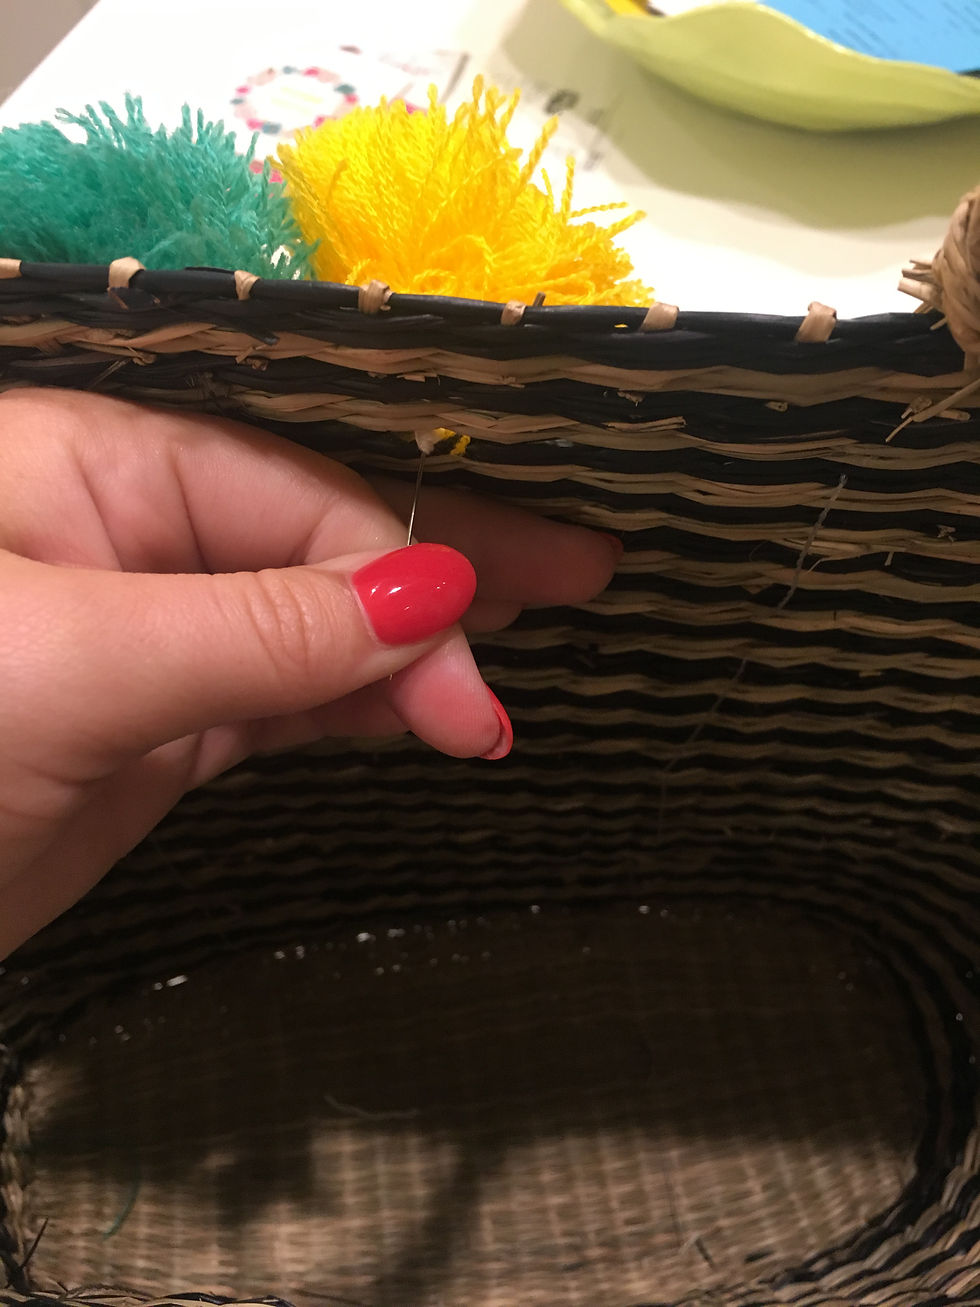

Step four: Take the longer one of the two to three stands and with your needle or finger nail push it back to the front on the purse and then again back to the inside, This step allows the pom pom to stay in place and not move.


Step five: Now that both of the strands are both back on the inside tie them together in a know! NOW YOUR FIRST POM POM IS FINISHED!!!
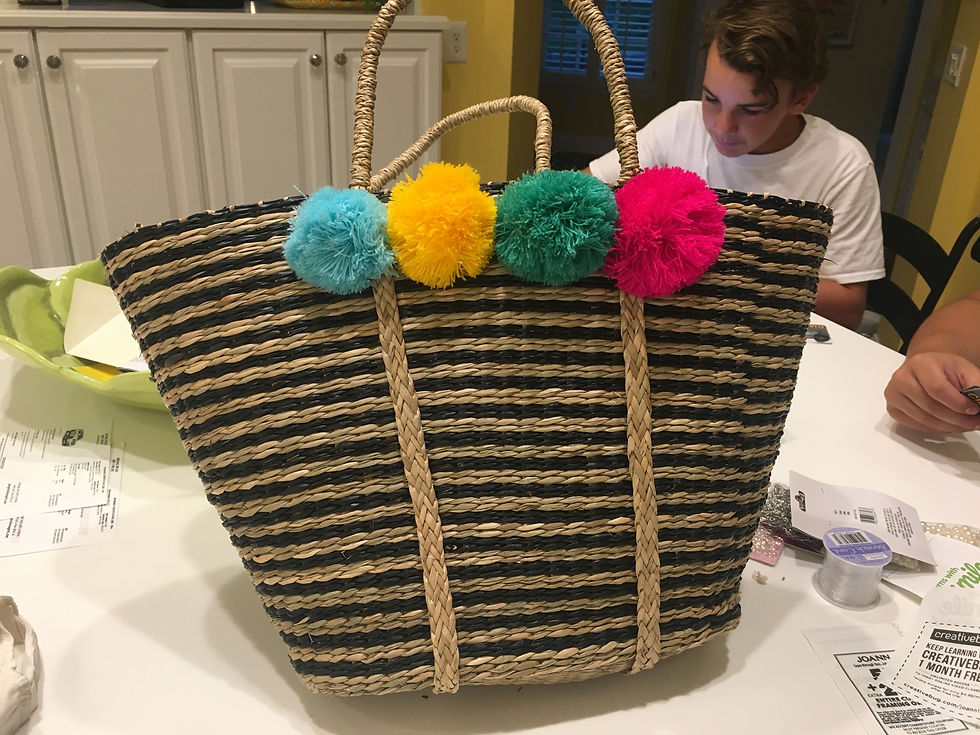
REPEAT the past steps until all of the pom poms that you would like are down.


NOW YOUR POM POM BAG IS FINISHED AND READY TO BE USED!!!

XOXO,
Caroline
Comments